Nailboo Gel Polish Instructions: A Comprehensive Guide
Nailboo offers a revolutionary DIY gel polish system, empowering enthusiasts to achieve salon-quality manicures at home with ease and lasting brilliance.
This comprehensive guide details each step, from meticulous nail preparation to stunning finishing touches, ensuring a flawless and durable Nailboo experience.
Nailboo Gel Polish represents a significant advancement in at-home manicure technology, offering a durable, glossy finish comparable to professional salon treatments. Unlike traditional polishes, Nailboo’s “Forever Glaze” formula is designed for longevity and self-leveling application, minimizing streaks and imperfections.
The system centers around a unique gel polish that requires curing under an LED lamp, creating a hardened, chip-resistant coating. Nailboo isn’t just a product; it’s a community, fostering nail enthusiasts through shared tips and techniques. Proper preparation is paramount, emphasizing the removal of oils and dust for optimal adhesion.
Achieving a professional look involves applying thin, even coats and ensuring complete exposure to the curing lamp’s light – a minimum of 24W is recommended. With Nailboo, you’re not just painting your nails; you’re investing in a long-lasting, beautiful, and empowering self-care ritual.
Understanding the Nailboo System
The Nailboo system is a complete DIY gel manicure solution, encompassing not just the polish itself, but also essential preparatory and finishing products. This includes base and top coats specifically formulated to work synergistically with the “Forever Glaze” gel colors. A crucial component is the LED lamp, vital for curing each layer and achieving the desired durability.
Nailboo distinguishes itself through its self-leveling properties, simplifying application for a smooth, professional finish. The system encourages thin, even coats, maximizing longevity and minimizing the risk of bubbling or wrinkling.
Furthermore, Nailboo offers magnetic gel polishes for unique effects, achievable by layering over darker base colors to enhance visual impact. Understanding the interplay between these elements – polish, lamp, and preparatory steps – is key to unlocking the full potential of the Nailboo experience.
Preparation is Key
Optimal adhesion and longevity depend on thorough nail preparation; removing all traces of dust, oil, and existing polish is absolutely essential for success.
Step 1: Nail Preparation ౼ Removing Existing Polish
Begin with a clean slate! The foundation of a long-lasting Nailboo manicure is removing any previously applied polish – whether it’s regular polish or another gel system.
Gently file the surface of the existing polish to break the seal, making removal easier and preventing damage to your natural nail. Soak cotton balls in acetone-based polish remover and place them directly onto each nail.
Wrap each fingertip tightly with aluminum foil to keep the cotton in place and prevent the remover from evaporating. Allow the acetone to sit for 10-15 minutes, softening the polish.
After soaking, gently push off the softened polish with a cuticle pusher or orange wood stick. Avoid harsh scraping, which can weaken the nail. If any stubborn residue remains, repeat the soaking process.
Always ensure all traces of old polish are removed before proceeding to the next step.
Step 2: Cuticle Care & Nail Shaping
Healthy cuticles are crucial! Gently push back your cuticles using a cuticle pusher to create a clean nail bed. Avoid cutting your cuticles, as this can lead to infection and damage the nail matrix.
Instead, focus on hydrating them with a cuticle oil to keep them soft and healthy. Next, shape your nails to your desired length and form using a nail file. A slightly rounded or square-rounded shape is generally recommended for gel polish, as it minimizes chipping.
File in one direction to prevent splitting and weakening of the nail. Ensure all sides are smooth and even.
Buff the surface of the nail lightly to remove shine and create a slightly textured surface for better adhesion of the Nailboo base coat.
Remember, gentle care and proper shaping are key for a professional-looking manicure.
Step 3: Buffing the Nail Surface
Buffing is essential for optimal gel polish adhesion. After shaping, gently buff the entire surface of each nail with a fine-grit buffer. The goal isn’t to thin the nail, but to remove the natural shine and create microscopic texture.
This texture provides a better grip for the Nailboo base coat, preventing lifting and chipping. Use light pressure and even strokes, ensuring you cover the entire nail plate.
Avoid excessive buffing, as this can weaken the nail. Focus on creating a uniformly matte surface.
Dust off the nail thoroughly after buffing to remove any debris. A clean surface is vital for a flawless application.
Proper buffing significantly extends the life of your manicure and ensures a professional, long-lasting finish.
Step 4: Dehydrating & Cleansing the Nail
Dehydration is crucial for long-lasting Nailboo gel polish. After buffing and removing dust, apply a nail dehydrator to each nail. This removes any remaining oils and moisture from the nail plate, enhancing adhesion.
Allow the dehydrator to air dry completely – avoid touching the nails after application. Following dehydration, saturate a lint-free wipe with 95% isopropyl alcohol and thoroughly cleanse each nail.
This step removes any lingering dust or residue from buffing and dehydration, ensuring a pristine surface.
Avoid touching the nails after cleansing to prevent recontamination with oils. A clean, dry nail surface is paramount for optimal gel polish bonding and preventing lifting.
This meticulous preparation guarantees a flawless and durable manicure.
Application Process
Begin the transformation with Nailboo’s easy application! Carefully apply each coat – base, color, and top – ensuring thin, even layers for optimal results;
Step 5: Applying Nailboo Base Coat
Begin the color application process with a thin, even coat of Nailboo Base Coat. This crucial step ensures optimal adhesion of the gel polish, preventing premature chipping and lifting. Apply the base coat, avoiding contact with the cuticle, and ensure complete coverage of the nail plate.
Remember to apply the base coat in thin, even strokes; thicker applications can lead to bubbling or wrinkling during the curing process. Focus on fully coating the nail, extending slightly beyond the nail wall to create a seal. Proper base coat application is foundational for a long-lasting, professional-looking manicure;
Always prep the nail to remove dust or oils before applying the base coat, as this will hinder adhesion. A well-applied base coat is the key to a flawless Nailboo manicure!
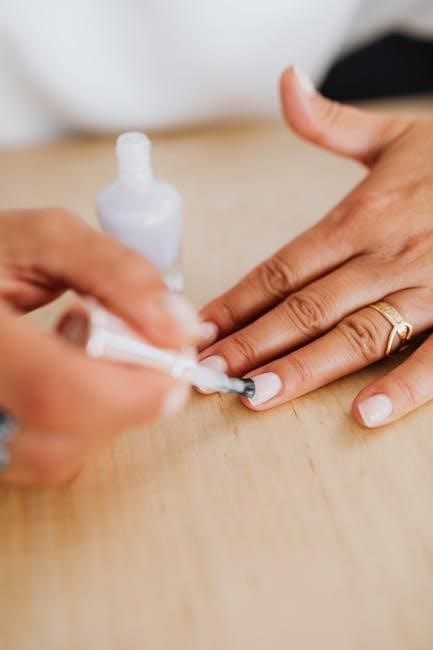
Step 6: Applying the First Layer of Gel Polish
Following the cured base coat, apply a thin, even layer of your chosen Nailboo Gel Polish color. Remember, the key to a smooth, professional finish is applying the polish in thin coats. Avoid applying the polish too thickly, as this can cause bubbling or uneven curing.
Start with a small bead of polish near the cuticle and gently push it towards the free edge, ensuring full coverage. Apply and cure in thin even coats, maintaining a slight distance from the cuticle to prevent lifting. This initial layer builds the foundation for color intensity and longevity.
Ensure fingertips are fully exposed to light during curing. A consistent, thin application is paramount for a flawless Nailboo gel manicure!
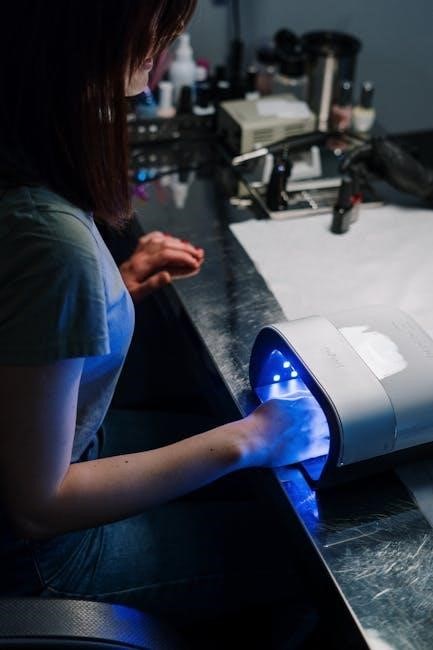
Step 7: Curing the First Layer
After applying the first thin layer of Nailboo Gel Polish, it’s crucial to cure it properly for optimal adhesion and durability. Place your hand under a compatible LED lamp – using at least a 24W lamp is recommended for best results.
Cure for the time specified on your Nailboo polish bottle, typically around 60-90 seconds. Ensure all areas of the polish are fully exposed to the lamp’s light, including the sides and free edge. Make sure the fingertips are fully exposed to light during this process.
Proper curing prevents wrinkling, peeling, and ensures the polish is fully hardened, creating a strong base for subsequent layers. A fully cured first layer is essential for a long-lasting manicure!
Step 8: Applying the Second Layer of Gel Polish
Now, apply a second thin, even layer of your chosen Nailboo Gel Polish color. Remember, the key to a flawless manicure is applying thin even coats – avoid thick applications, as they can lead to bubbling or improper curing.
Ensure complete coverage, but don’t worry about achieving perfect opacity with this layer alone. The second coat builds upon the first, enhancing color intensity and smoothness. Maintain a consistent application across all nails for a uniform look.
Focus on even distribution and avoid flooding the cuticles. A smooth application at this stage will significantly contribute to the final, polished result. Prepare for the next crucial step: curing!
Step 9: Curing the Second Layer
Following the application of the second gel polish layer, it’s time to cure! Place your hand(s) under the Nailboo LED lamp, ensuring your fingertips are fully exposed to the light. This is critical for complete and even curing.
A minimum of 60 seconds is generally recommended, but always refer to the specific curing time indicated on your Nailboo polish bottle. Using at least a 24W lamp is essential for optimal results.
Check that all areas of the polish are receiving adequate light exposure. Proper curing prevents chipping, peeling, and ensures a long-lasting, beautiful manicure. After curing, your polish will be tacky – this is normal!
Step 10: Wrapping the Tips
Wrapping the tips is a crucial step for extending the life of your Nailboo manicure and preventing premature chipping. This involves carefully applying the gel polish to the free edge of your nail, essentially sealing it.
When applying the second coat of gel polish, gently brush the product over the tip, creating a thin, even layer. It takes practice to find the correct amount – too little and it won’t protect, too much can cause bubbling.
Ensure complete coverage of the edge, as this area is most prone to wear and tear. Properly wrapped tips significantly reduce the likelihood of lifting and chipping, resulting in a longer-lasting, flawless finish.
Finishing Touches & Maintenance
Finalize your Nailboo manicure with a top coat for ultimate shine and protection, ensuring longevity and a professional, polished appearance for weeks!
Step 11: Applying Nailboo Top Coat
Now for the grand finale – applying the Nailboo Top Coat! This crucial step seals in your beautiful gel polish design, providing exceptional shine and protecting against chips and wear. Ensure you’re using the Nailboo Premier Forever Glaze Top Coat for optimal results.
Apply a thin, even layer of top coat to each nail, being careful not to flood the cuticles. Remember the technique of “wrapping the tips” – gently glide the brush along the free edge of your nail to completely seal the polish. This prevents chipping and extends the life of your manicure.
Avoid getting the top coat on your skin, as this can cause irritation during the curing process. If any polish does get on your skin, carefully remove it with a clean-up brush before curing. A smooth, even application is key to a flawless finish!
Step 12: Curing the Top Coat
With the Nailboo Top Coat applied, it’s time to cure! Proper curing is essential for a long-lasting, chip-resistant manicure. Ensure your fingertips are fully exposed to the light source within your LED lamp. A minimum of a 24W lamp is recommended for optimal curing with Nailboo products.
Cure the top coat for the recommended time specified on your Nailboo lamp or product packaging – typically 60-90 seconds. Avoid moving your hand during the curing process, as this can lead to uneven curing and potential lifting.
If you experience any burning sensation during curing, immediately remove your hand from the lamp. While uncommon, sensitivity can occur. After curing, your nails should feel firm and dry to the touch, indicating a successful cure.

Step 13: Cleansing the Inhibition Layer
Following the top coat cure, a sticky residue, known as the inhibition layer, will be present on the nail surface. This is a normal byproduct of the gel curing process and isn’t indicative of an uncured polish. To achieve a flawlessly smooth and glossy finish, this layer must be removed.
Saturate a lint-free wipe with 91% isopropyl alcohol (or a dedicated gel cleanser). Gently wipe each nail, applying light pressure to dissolve and remove the sticky residue. Avoid harsh scrubbing, as this could potentially damage the gel polish.
Ensure all traces of the inhibition layer are removed for a truly professional-looking manicure. This step reveals the vibrant color and high-shine gloss of your Nailboo gel polish!
Troubleshooting & Tips
Addressing common issues like chipping or improper curing is vital for a lasting manicure. Thin, even coats and proper lamp exposure are key!
Step 14: Avoiding Common Application Mistakes
Many beginners struggle with applying gel polish too thickly, leading to bubbling, wrinkling, or incomplete curing. Remember, Nailboo’s “Forever Glaze” is designed for thin, even coats – think of building color gradually.
Avoid flooding the cuticles, as this can cause lifting and premature chipping. Utilize a fine brush for precise application around the nail bed. Another frequent error is inconsistent polish distribution; ensure each stroke covers the entire nail surface.
Furthermore, neglecting to cap the free edge (wrapping the tips) significantly reduces manicure longevity. Finally, always prep the nail thoroughly to remove oils and dust, as this is foundational for adhesion and prevents lifting. Consistent practice will refine your technique!
Step 15: Ensuring Proper Curing
Complete curing is paramount for a long-lasting Nailboo manicure. Insufficient curing results in soft, easily damaged polish prone to peeling and chipping. Always verify your LED lamp meets the minimum 24W requirement for optimal results.
Ensure fingertips are fully exposed to the lamp’s light during each curing session; position your hand correctly to avoid shadows. Curing times vary based on polish color and lamp wattage, so adhere to Nailboo’s recommended durations.
If polish feels tacky after curing, it indicates under-exposure – extend the curing time slightly. Conversely, over-curing can cause brittleness. Regularly check your lamp’s bulbs and replace them as needed to maintain consistent intensity.
Step 16: Lamp Wattage & Exposure
Nailboo gel polish requires a specific level of UV/LED light for proper polymerization. A minimum of 24W is crucial for effective curing, ensuring durability and preventing issues like lifting or tackiness. Lower wattage lamps may necessitate extended curing times, but aren’t always reliable.
Exposure is equally vital; ensure all polish surfaces, including the free edge and sidewalls, receive direct light. Rotate your hand during curing to guarantee even exposure, avoiding shadowed areas.
Always follow Nailboo’s recommended curing times for each layer – base, color, and top coat – based on your lamp’s wattage. Regularly inspect your lamp’s bulbs and replace them as needed to maintain optimal performance.
Step 17: Achieving a Smooth, Self-Leveling Finish
Nailboo’s Forever Glaze formula is designed for self-leveling, but proper application is key. Apply gel polish in thin, even coats, avoiding thick buildup which can lead to bubbling or uneven curing. Resist the urge to apply too much product at once; multiple thin layers are superior.
Brush strokes should be smooth and deliberate, working from the cuticle to the free edge. If minor imperfections appear, they often smooth out during the curing process.
Wrapping the tips correctly also contributes to a seamless finish. Remember to apply and cure in thin even coats, ensuring fingertips are fully exposed to the light.
Advanced Techniques
Nailboo unlocks creativity with magnetic polish and color layering! Utilizing darker base colors dramatically enhances the visual impact of your gel manicure designs.
Step 18: Using Darker Base Colors for Enhanced Effect
Elevate your Nailboo gel manicure with a simple yet impactful technique: employing darker base colors. This method significantly enhances the vibrancy and depth of your chosen gel polish, particularly with lighter or more subtle shades. A dark base creates a stunning contrast, making the color appear richer and more pigmented.
Consider a deep navy, charcoal gray, or even a classic black as your foundation. These shades provide a dramatic backdrop that allows the top color to truly “pop.” This is especially effective with metallic, glitter, or pastel polishes, where the contrast amplifies their brilliance.
Application is key: ensure the base coat is fully cured before applying your color. Apply thin, even layers of both the base and color coats for optimal results. Experiment with different dark base shades to discover the perfect complement to your favorite Nailboo gel polishes!
Step 19: Magnetic Gel Polish Application
Unleash captivating designs with Nailboo’s magnetic gel polishes! This technique allows for stunning, three-dimensional effects right at your fingertips. After applying the magnetic gel polish layer, do not cure immediately. Instead, hold a magnet close to, but not directly touching, the wet polish.
The magnetic particles within the polish will shift and align, creating mesmerizing patterns – lines, waves, or cat-eye effects. Experiment with different magnet placements and movements for unique results. Varying the distance and angle of the magnet alters the pattern’s intensity and shape.
Crucially, cure the polish while the magnet is still in place to lock in the design. Ensure your magnet is clean to avoid any unwanted smudges. Explore different magnetic strengths for varied effects and enjoy the artistry!
Product Information & Safety
Nailboo offers premium gel polishes, base/top coats, and LED lamps, designed for DIY use. Always review safety precautions and allergy information before application.
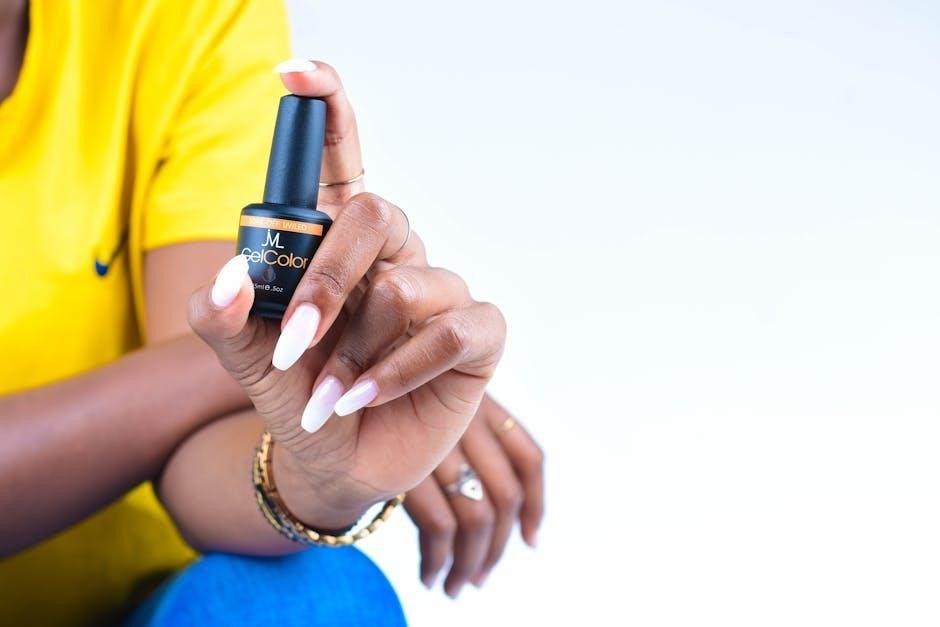
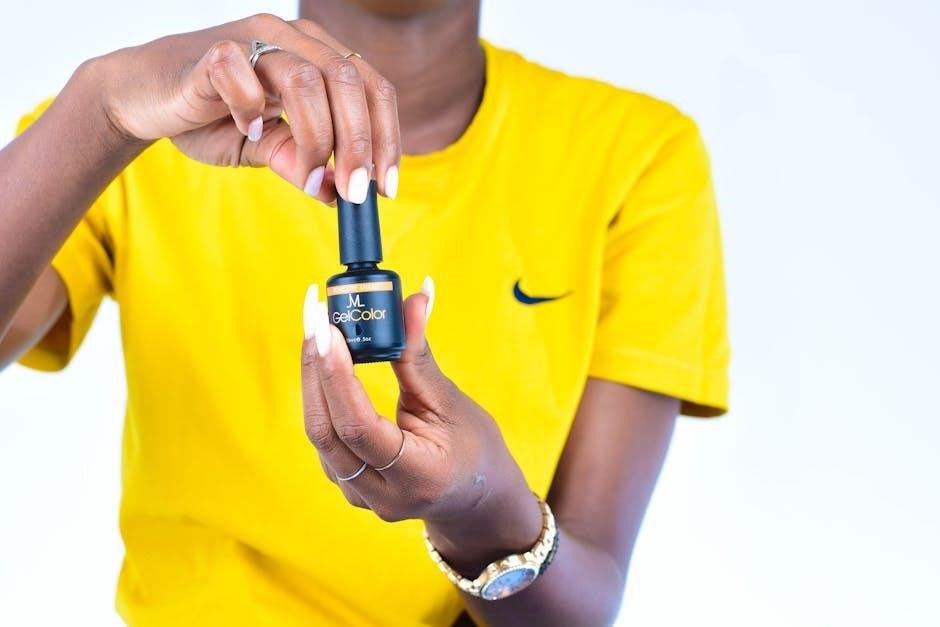
Step 20: Nailboo Product Overview
Nailboo’s system centers around its “Forever Glaze” gel polishes, known for their self-leveling properties and glossy, long-wearing finish. These polishes come in a vast array of colors, catering to diverse preferences. Crucially, the system requires a compatible LED lamp – a minimum of 24W is recommended for optimal curing.
Beyond the color polishes, Nailboo provides essential components like a base coat, vital for adhesion and nail protection, and a top coat, ensuring a durable, chip-resistant seal. Additional products include primers, dehydrators, and cleansing solutions, all designed to enhance the manicure’s longevity. Magnetic gel polishes are also available, offering unique artistic effects.
The kits are designed for at-home use, providing everything needed for a professional-quality gel manicure. Nailboo emphasizes building a community of nail enthusiasts, offering support and inspiration for achieving beautiful results.
Step 21: Safety Precautions & Allergy Information
When using Nailboo gel polish, prioritize safety. Avoid skin contact with the gel, as it can cause irritation or allergic reactions in sensitive individuals. Always work in a well-ventilated area to minimize exposure to fumes during application and curing.
If you experience any redness, itching, or swelling around the nails or on the skin, discontinue use immediately and consult a dermatologist. Ensure your fingertips are fully exposed to the LED lamp’s light during curing to prevent overexposure.
Keep all Nailboo products out of reach of children. Read and follow all product instructions carefully. Individuals with known allergies to acrylics or similar nail products should perform a patch test before full application. Proper nail preparation and cleansing are crucial to prevent lifting and potential fungal growth.
Step 22: Long-Lasting Manicure Tips
To maximize the longevity of your Nailboo manicure, meticulous preparation is key; Thoroughly remove all traces of existing polish and oils before application. Apply gel polish in thin, even coats, ensuring complete coverage and proper wrapping of the tips to seal the edges.
Avoid prolonged water exposure immediately after curing, as this can compromise adhesion. Regularly apply cuticle oil to keep the surrounding skin hydrated and prevent lifting. Protect your hands with gloves during household chores or activities that may cause impact.
Consider using a darker base color to enhance the vibrancy of your gel polish. A quality top coat is essential for a durable, glossy finish. Remember, proper curing with an appropriate wattage lamp (at least 24W) is vital for a long-lasting result.