
Welcome! This manual guides you through your Nikon COOLPIX camera’s features. Read it carefully before use‚ supplementing the Fast Track and Pocket Guides for optimal performance.
About This User Manual
This manual serves as a comprehensive resource for understanding and utilizing your Nikon COOLPIX digital camera. It’s designed to complement the included Fast Track Guide‚ offering detailed explanations beyond quick-start instructions. Consider it a valuable supplement for exploring all functionalities.
It explains proper camera use and care‚ ensuring longevity and optimal performance. Refer to this manual for guidance on topics not covered in the shorter guides. Nikon recommends reviewing it thoroughly before important events‚ like weddings‚ to familiarize yourself with settings.
Package Contents & Verification
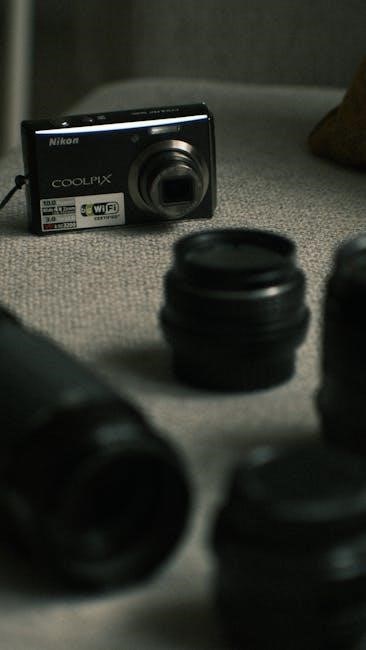
Upon opening your Nikon COOLPIX package‚ please verify all components are present. Typically‚ you should find the COOLPIX camera body itself‚ alongside this user manual and potentially a Fast Track Guide for quick setup. Important Note: A memory card (SD‚ SDHC‚ or SDXC) is not included and must be purchased separately.
Also‚ check for any included USB cables or other accessories. Inspect each item for any signs of damage during shipping. If anything is missing or damaged‚ contact your retailer or Nikon support immediately for assistance.
Important Safety Precautions
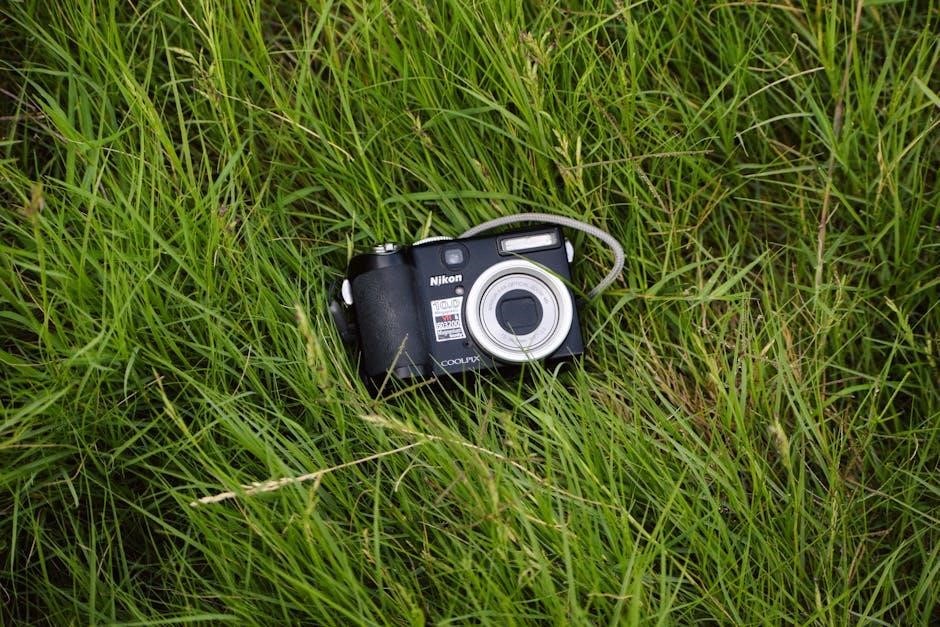
Caution: Always handle your Nikon COOLPIX with care. Avoid dropping or subjecting it to strong impacts. Do not disassemble or modify the camera. Take trial shots before important events like weddings to ensure proper settings. Never look directly into the flash while it’s active‚ as this could damage your eyes.
Keep the camera away from water and extreme temperatures. Regularly have your camera serviced by an authorized Nikon dealer – at least once every two years – to maintain optimal performance and safety.

Getting Started: Initial Setup
Begin your journey! First‚ insert the battery and a compatible memory card (SD‚ SDHC‚ or SDXC). Ensure proper alignment for secure operation.
Inserting the Battery and Memory Card
Powering Up & Storage: Locate the battery compartment latch. Open it carefully and insert the Nikon battery‚ ensuring the contacts align correctly. Simultaneously‚ insert a compatible SD‚ SDHC‚ or SDXC memory card into its designated slot‚ following the direction indicated by the icon.
Confirm both are securely seated before closing the compartment latch. A properly inserted battery and memory card are crucial for camera operation and image storage. Note that a memory card isn’t included and must be purchased separately.
Charging the Battery
Powering Up: Connect the provided USB cable to the camera and a USB power source. A charging indicator will illuminate‚ signifying the charging process has begun. Allow sufficient time for a full charge; the indicator will typically change or turn off when complete.
Avoid interrupting the charging cycle. Fully charging the battery ensures optimal performance and extended shooting time. Refer to the full manual for specific charging times and troubleshooting tips. Always use the supplied Nikon charger for best results and battery longevity.
Setting the Date‚ Time‚ and Language
Initial Configuration: Upon first use‚ the camera prompts you to set the date‚ time‚ and preferred language. Navigate through the camera’s menu system to access the setup options. Accurate date and time settings are crucial for proper image organization and timestamping.
Select your region and language from the available lists. Confirm your selections to save the settings. You can revisit these settings later through the camera’s menu if needed‚ ensuring your COOLPIX is personalized for convenient operation.
Understanding the Camera Interface
Explore the Controls: Familiarize yourself with button and dial functions‚ menu navigation‚ and display indicators for seamless operation of your Nikon COOLPIX.
Button and Dial Functions
Mastering the Controls: Your Nikon COOLPIX features intuitive buttons and dials for effortless operation. The power button initiates camera functions‚ while the shutter button captures images. The mode dial selects shooting modes – Auto‚ Scene‚ or Manual – offering creative control.
The zoom lever adjusts magnification‚ and directional buttons navigate menus. A dedicated menu button accesses camera settings. Understanding these controls unlocks the full potential of your COOLPIX‚ allowing for quick adjustments and personalized shooting experiences. Refer to diagrams within this manual for precise button locations and functions.
Menu Navigation
Exploring the Menu System: Access the COOLPIX menu by pressing the dedicated menu button. Navigate using the directional buttons – up‚ down‚ left‚ and right – to scroll through options. Pressing the ‘OK’ or central button confirms your selection.
The menu is logically organized into categories like shooting settings‚ image quality‚ and setup. Utilize the display information to understand each option’s function. To exit the menu‚ press the menu button again. Familiarizing yourself with this system ensures efficient customization of your camera’s features.
Display Information & Indicators

Understanding the LCD Screen: The COOLPIX LCD displays crucial shooting information‚ including battery level‚ shooting mode‚ image quality settings‚ and remaining storage capacity. Various icons indicate active functions like flash mode‚ focus area‚ and white balance.
Pay attention to indicators showing if auto focus is active or if image stabilization is engaged. These visual cues help monitor camera status and ensure optimal settings for each shot. Refer to the manual for a complete explanation of all displayed symbols.
Basic Shooting Operations
Start capturing memories! Select a shooting mode (Auto‚ Scene‚ or Manual)‚ focus on your subject‚ and press the shutter button to take a picture.
Shooting Modes (Auto‚ Scene‚ Manual)
Auto Mode simplifies photography‚ letting the camera handle settings for most situations. Scene Mode offers presets like Portrait‚ Landscape‚ or Sports‚ optimizing settings for specific subjects.
For greater control‚ choose Manual Mode. This allows you to adjust aperture‚ shutter speed‚ and ISO sensitivity independently‚ providing creative flexibility. Experiment with each mode to understand how they impact your images. Taking trial shots before important events is highly recommended. Remember to consult the full reference manual for detailed explanations of each setting and mode’s capabilities.
Focusing and Exposure
Focusing on your COOLPIX involves selecting the appropriate focus area – Auto-area‚ Center‚ or Manual focus. Ensure sharpness by half-pressing the shutter button to activate autofocus. Exposure‚ controlling brightness‚ is often automatic‚ but Manual mode grants full control.
Understand how aperture and shutter speed interact to achieve desired effects. Proper exposure ensures well-lit‚ detailed images. Experiment with different settings and review results on the LCD screen. Refer to the detailed manual for advanced focusing and exposure techniques.
Zooming and Image Stabilization
Zooming capabilities vary by COOLPIX model; utilize the zoom lever for optical zoom‚ providing clear magnification. Digital zoom extends reach but may reduce image quality. Image Stabilization is crucial for sharp photos and videos‚ especially in low light or with telephoto zoom.
Activate Vibration Reduction (VR) to minimize blur caused by camera shake. Explore different VR modes for optimal stabilization during various shooting scenarios. Refer to your camera’s manual for specific zoom ranges and VR settings.
Advanced Shooting Features
Explore creative control! Master flash settings‚ white balance‚ and ISO sensitivity for stunning images. Unlock your COOLPIX’s full potential with these tools.
Using Flash Effectively
Maximize your flash capabilities! The Nikon COOLPIX offers various flash modes – Auto‚ Red-eye Reduction‚ Fill-Flash‚ and Slow Sync. Auto intelligently determines when flash is needed. Red-eye Reduction minimizes red-eye effects in portraits. Fill-Flash brightens subjects against strong backlighting.
Slow Sync combines flash with a slower shutter speed‚ ideal for capturing ambient light and subjects in low-light conditions. Experiment with these modes to achieve the desired lighting effect. Remember to consider the distance to your subject for optimal flash performance and avoid overexposure.
White Balance Adjustment
Achieve accurate colors! White balance ensures colors appear natural under different lighting conditions. The Nikon COOLPIX offers Auto White Balance (AWB) for general use‚ plus presets like Daylight‚ Incandescent‚ Fluorescent‚ and Cloudy.
Custom White Balance allows precise adjustment by referencing a white object in the scene. Incorrect white balance results in color casts – too warm (yellowish) or too cool (bluish). Experiment with presets to find the best setting for your environment‚ ensuring true-to-life image reproduction.
ISO Sensitivity Settings
Control light sensitivity! ISO determines your camera’s sensitivity to light. Lower ISO (e.g.‚ 100) is ideal for bright conditions‚ producing cleaner images with less noise. Higher ISO (e.g.‚ 800‚ 1600‚ or higher) is useful in low light‚ but introduces more noise or grain.
Auto ISO automatically adjusts sensitivity. Manually setting ISO gives you creative control; Be mindful that increasing ISO compromises image quality; prioritize lower settings whenever possible for optimal results. Experiment to find the balance between brightness and noise.

Playback and Image Management
Review your photos! Easily view images on the LCD screen‚ delete unwanted ones‚ and transfer them to your computer for editing and safekeeping.
Viewing Images on the LCD Screen
Enjoy your captured moments! After taking photos‚ use the playback button to view them directly on the COOLPIX’s LCD screen. Navigate through images using the directional pad or zoom controls. You can zoom in to check details and use the display options to view shooting information like date‚ time‚ and camera settings.
The screen allows single-image or multi-image views. Utilize the histogram display for accurate exposure assessment. Rotate images directly on the camera for convenient viewing. Remember to adjust the LCD brightness for optimal visibility in different lighting conditions.
Deleting Images
Manage your storage! To delete unwanted images‚ enter playback mode and select the image you wish to remove. Press the delete button – the camera will usually ask for confirmation to prevent accidental deletion. You can delete images individually or select multiple images for batch deletion.
Be cautious‚ as deleted images are often unrecoverable! Consider backing up important photos to a computer or other storage device before deleting. The camera may offer options for protecting images from accidental deletion‚ ensuring your cherished memories remain safe.
Transferring Images to a Computer
Share your photos! Connect your Nikon COOLPIX to your computer using the provided USB cable. The camera may appear as a removable drive‚ allowing you to simply drag and drop images. Alternatively‚ utilize Nikon’s ViewNX-i software‚ downloadable from their website‚ for organized transfer and basic editing.
Ensure the camera is powered on during transfer. ViewNX-i offers features like image management and batch processing. Always safely eject the camera from your computer after transfer to prevent data corruption.

Connectivity and Software
Expand possibilities! Connect via USB or wirelessly (if applicable). Download Nikon’s ViewNX-i software for image transfer‚ organization‚ and editing capabilities.
Connecting to a Computer via USB
Seamless Transfer: Utilize a USB cable to connect your Nikon COOLPIX to a computer for direct image and movie transfer; Ensure your computer recognizes the camera upon connection; it may appear as a removable drive.
Follow your computer’s operating system prompts if necessary to install drivers. Once connected‚ you can easily copy files between the camera’s memory card and your computer. This method is ideal for quickly backing up photos and videos‚ or for utilizing image editing software on your PC or Mac. Remember to safely eject the camera from your computer before disconnecting the USB cable.
Nikon Software Download & Installation (ViewNX-i)
Enhance Your Experience: Download Nikon’s ViewNX-i software from the official Nikon Download Center to unlock advanced image management capabilities. This powerful tool allows for efficient image transfer‚ organization‚ and basic editing directly on your computer.
Installation is straightforward – simply follow the on-screen instructions after downloading the installer. ViewNX-i supports a wide range of Nikon cameras and provides features like RAW processing‚ batch renaming‚ and sophisticated image browsing. It’s a valuable asset for any COOLPIX user seeking greater control over their digital workflow.
Wireless Connectivity (if applicable)
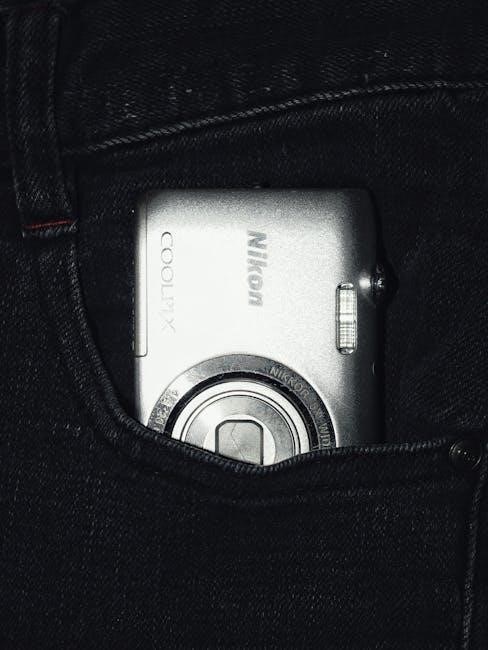
Seamless Sharing: Certain Nikon COOLPIX models offer built-in Wi-Fi or Bluetooth connectivity. This enables effortless image transfer to smartphones and tablets for instant sharing on social media or cloud storage.

To connect‚ access the camera’s menu and navigate to the wireless settings. Follow the prompts to pair with your device using the Nikon SnapBridge app (available for iOS and Android). Once connected‚ automatic image transfer can be configured‚ ensuring your memories are always backed up and readily accessible.