Lined zippered pouches are a fantastic beginner sewing project, offering both practicality and a chance to hone essential skills. These pouches, as demonstrated
by various tutorials, are surprisingly simple to construct, requiring minimal fabric and basic sewing supplies. Mastering this technique opens doors to creating
personalized storage solutions for everything from jewelry to small essentials, as highlighted by recent online guides and video tutorials. They’re a rewarding
first step into the world of zippered projects, building confidence and providing a useful finished product;
Why Make a Lined Zippered Pouch?
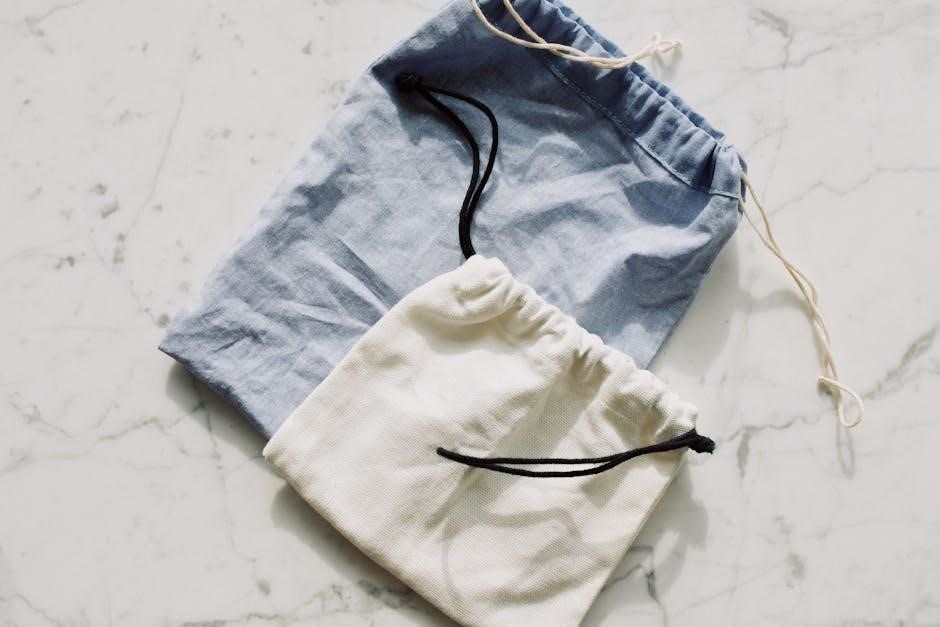
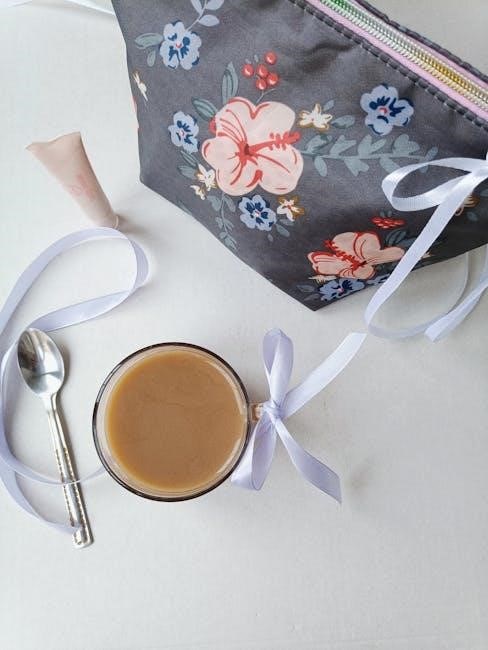
Creating a lined zippered pouch offers a multitude of benefits, making it an ideal project for both novice and experienced sewists. As several online resources emphasize, these pouches are incredibly versatile. They’re perfect for organizing small items – think jewelry, cosmetics, crafting supplies, or even tech accessories – preventing clutter and keeping essentials readily accessible.
Beyond practicality, crafting your own pouch allows for complete customization. You have full control over fabric choices, enabling you to match your personal style or coordinate with existing accessories. The tutorials available demonstrate how easily you can transform scrap fabrics into charming, functional items. This is a fantastic way to utilize leftover materials and reduce textile waste.
Furthermore, learning to sew a lined zippered pouch builds fundamental sewing skills. You’ll practice techniques like zipper installation, straight stitching, turning corners, and pressing – all crucial for more complex projects. Charlotte Kan’s tutorial specifically highlights that starting with a simple zippered pouch is a great way to build confidence. It’s a stepping stone to tackling more ambitious sewing endeavors, providing a solid foundation for future creativity.
Benefits of a Lined Construction
Employing a lined construction in your zippered pouch significantly elevates its durability and overall quality. The lining provides an extra layer of fabric, reinforcing the pouch’s structure and preventing the zipper from directly stressing the exterior fabric. This is particularly important for pouches intended for frequent use or carrying heavier items.
A lining also conceals raw edges, creating a cleaner, more professional finish. It eliminates the need for complex seam finishes on the interior, simplifying the sewing process while enhancing the pouch’s aesthetic appeal. Many tutorials, like the one from I Can Sew This, implicitly demonstrate this benefit through their step-by-step guides.
Furthermore, the lining offers an opportunity to use contrasting fabrics, adding visual interest and personalization. You can choose a lining that complements or boldly contrasts with the exterior, creating a unique and eye-catching design. This allows for greater creative expression and customization. The added structure from the lining also helps the pouch maintain its shape, even when empty, contributing to its longevity and usability.
Materials Needed for Your Project
To begin, gather scrap fabric for both the exterior and lining, a zipper of your desired length, and essential sewing tools like scissors, pins, and a sewing machine.
Fabric Choices: Exterior and Lining
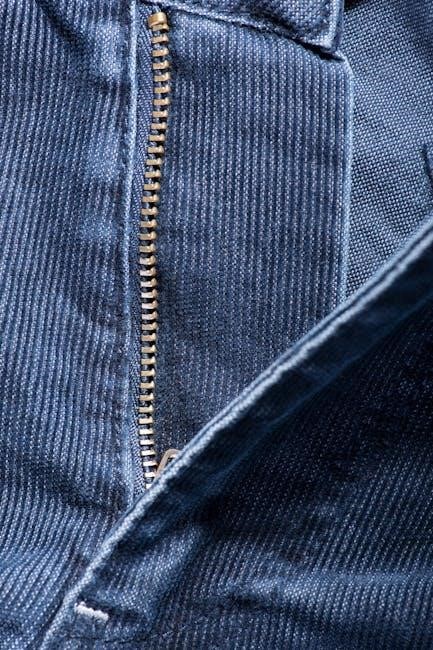
Selecting the right fabrics is crucial for a successful lined zippered pouch. For the exterior, consider durable materials like cotton, linen, canvas, or even denim, offering both aesthetic appeal and resilience. Heavier-weight fabrics provide structure, while lighter options create a softer feel. Don’t be afraid to experiment with prints and patterns to personalize your pouch!
The lining fabric, however, benefits from a smoother texture. Quilting cotton is a popular choice due to its wide availability and ease of sewing. Alternatively, consider using broadcloth or poplin. The lining’s primary function is to protect the contents and provide a clean finish, so prioritize a fabric that won’t snag or fray easily.
Consider the pouch’s intended use when making your selections. A pouch for delicate items might benefit from a softer lining, while a pouch for tools could require a more robust exterior. Remember that contrasting fabrics can add visual interest, and coordinating fabrics create a cohesive look. Scrap fabrics are perfect for these projects, making them a great way to use up leftover materials!
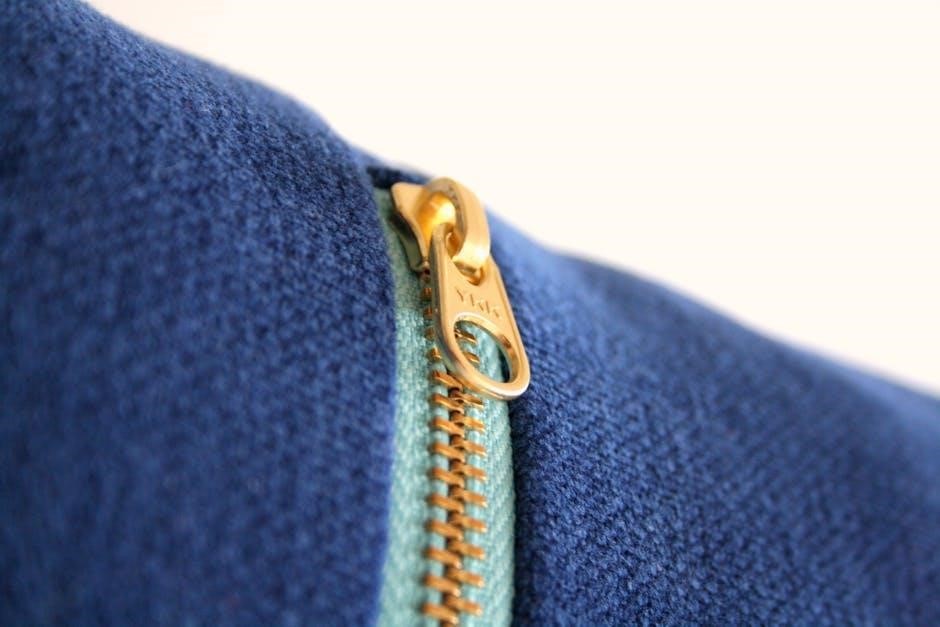
Zipper Selection: Types and Sizes
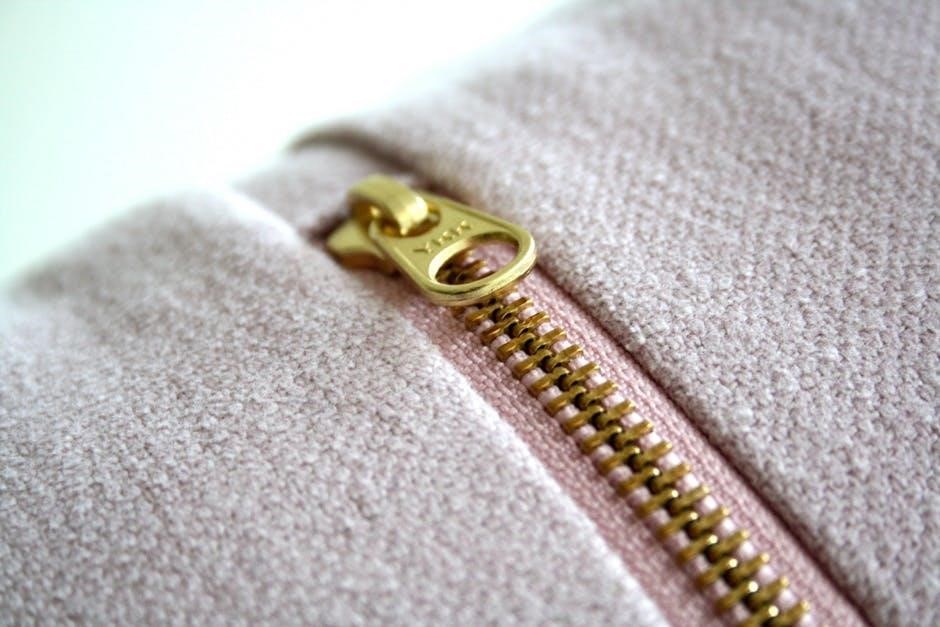
Choosing the correct zipper is vital for a professional-looking and functional lined zippered pouch. Several types are available, each suited to different needs. Standard nylon coil zippers are the most common and beginner-friendly, offering ease of installation and durability. Metal zippers provide a more robust and classic aesthetic, but can be trickier to sew.
Zipper size directly correlates to the pouch’s opening length. For smaller pouches, a 5-inch or 6-inch zipper is often sufficient. Larger pouches may require 7-inch, 8-inch, or even longer zippers. Ensure the zipper is at least as long as the desired opening, and consider adding a little extra length for easier manipulation during sewing.
Separating zippers are also an option, allowing the pouch to open completely flat. Invisible zippers offer a sleek, concealed look, but require more precise sewing skills. When selecting a zipper, match its color to your fabric or choose a contrasting color for a pop of detail. Don’t underestimate the impact of a well-chosen zipper!
Essential Sewing Supplies
Successfully crafting a lined zippered pouch requires a few key sewing supplies. A sewing machine is highly recommended for speed and precision, though hand-sewing is possible for patient crafters. Sharp fabric scissors are crucial for clean cuts, while a rotary cutter and mat offer accuracy, especially for straight lines.
Pins or fabric clips will hold your fabric pieces together during sewing. A seam ripper is an invaluable tool for correcting mistakes – and trust us, everyone makes them! Thread matching your fabric colors is essential, and a hand sewing needle is useful for finishing touches.
Other helpful tools include a measuring tape or ruler, a marking pen or chalk for transferring pattern pieces, and an iron for pressing seams. A zipper foot for your sewing machine will significantly simplify zipper installation. Having these supplies readily available will streamline the pouch-making process.

Step-by-Step Tutorial: Sewing a Lined Zippered Pouch
This tutorial guides you through creating a lined zippered pouch, starting with fabric preparation and zipper installation. We’ll cover sewing the pouch body,
attaching the lining, and finishing with turning and pressing for a professional result.
Preparing the Fabric Pieces
Before beginning, accurately cut your fabric pieces for both the exterior and lining. Most beginner tutorials recommend using scrap fabric, making this a cost-effective project. Typically, you’ll need two rectangles for the exterior and two for the lining – the size will determine your pouch’s final dimensions. Consider adding seam allowances, usually ¼ inch, to all sides of each rectangle.
Precise cutting is crucial for a neat finish. Use a rotary cutter, cutting mat, and ruler for the most accurate results, or carefully use fabric scissors. Ironing the fabric pieces before cutting helps eliminate wrinkles and ensures accurate measurements. Some guides suggest interfacing the exterior fabric for added structure and durability, particularly if using lighter-weight materials. This step isn’t always necessary, but it elevates the pouch’s quality.
Double-check that your exterior and lining pieces are the same size. Mismatched dimensions can lead to issues during the sewing process. Laying out all your cut pieces allows you to visualize the project and confirm you have everything needed before moving forward. A well-prepared fabric foundation sets the stage for a successful and enjoyable sewing experience.
Installing the Zipper: A Beginner’s Approach
For beginners, installing a zipper can seem daunting, but starting simple is key. Many tutorials emphasize a straightforward approach, focusing on centering the zipper between the right sides of the exterior fabric pieces. Open the zipper slightly before pinning it in place – this allows for easier sewing. Pin securely, ensuring the zipper teeth are evenly aligned with the fabric edge.
Using a zipper foot on your sewing machine is highly recommended. This specialized foot allows you to sew close to the zipper teeth without interference. Begin sewing along both sides of the zipper, using a straight stitch and maintaining a consistent seam allowance. Backstitch at the beginning and end of each seam to secure the stitching.
Take your time and sew slowly, especially when navigating the zipper pull. Once both sides are sewn, carefully test the zipper to ensure it opens and closes smoothly. If needed, reinforce any weak spots with additional stitching. Mastering this basic zipper installation technique unlocks a world of possibilities for future sewing projects.
Sewing the Pouch Body
With the zipper successfully installed, the next step is constructing the main body of the pouch. Begin by aligning the exterior fabric pieces, right sides together, ensuring the zipper is sandwiched between them. Pin around the remaining three sides of the pouch, leaving a small opening (around 2-3 inches) for turning later.
Using a consistent seam allowance – typically ¼ inch – sew around the pinned edges, backstitching at the start and finish to secure the seams. Carefully clip the corners to reduce bulk when the pouch is turned right side out. Avoid cutting into the stitching! This step is crucial for achieving a clean, professional finish.
Repeat this process with the lining fabric pieces, mirroring the stitching on the exterior. Remember to leave a similar-sized opening in the lining for turning. The pouch is now taking shape, and the final steps involve bringing the exterior and lining together for a polished result.
Attaching the Lining
Now comes the crucial step of uniting the exterior and lining. With right sides facing, carefully insert the exterior pouch body inside the lining pouch body. This means the right sides of the exterior and lining fabrics should be touching. Align the top edges, ensuring the zipper remains accessible and neatly positioned.
Pin around the entire top edge, matching the side seams precisely. Through the opening you left in the lining, gently pull the entire pouch right side out. This can be a little fiddly, but patience is key! Once fully turned, use a point turner or blunt object to carefully push out the corners, creating sharp, defined angles.
Fold in the raw edges of the opening in both the exterior and lining fabrics, and pin securely. Topstitch around the entire top edge of the pouch, closing the opening and providing a clean, finished look. This final stitching step completes the construction, resulting in a beautifully lined zippered pouch!
Finishing Touches: Turning and Pressing
With the pouch now fully sewn, it’s time for the satisfying finishing touches. Locate the opening you left in the lining – this is your turning point. Gently reach inside and carefully pull the entire pouch right-side out through this opening. Take your time to avoid stressing the seams, especially around the zipper.

Once turned, use a point turner, chopstick, or similar tool to carefully push out the corners, creating crisp, well-defined shapes. A well-defined corner elevates the professional look of your finished pouch. Next, press the pouch firmly, paying close attention to the seams and the area around the zipper. A good press sets the stitches and gives the pouch a polished appearance.
Finally, fold the raw edges of the opening in the lining inward and press them neatly. Topstitch the opening closed, creating a clean and durable finish. Your lined zippered pouch is now complete, ready for use or gifting!

Advanced Techniques & Variations
Beyond the basics, explore zipper tab additions for easier grip, experiment with diverse pouch sizes and shapes, and personalize your creations with decorative stitching and embellishments.
Adding Zipper Tabs
Zipper tabs elevate the functionality and aesthetic of your lined zippered pouch, providing a more substantial grip for opening and closing. While not strictly necessary, they offer a polished finish and can be customized to complement your fabric choices. Several tutorials emphasize this simple yet impactful addition.
To create zipper tabs, cut small rectangles of your exterior fabric – typically around 2 inches by 5 inches, though size can be adjusted to preference. Fold each rectangle in half lengthwise, right sides together, and stitch along the long edge, leaving a small opening for turning. Turn the tab right side out, press, and topstitch along all edges to secure.
Attaching the tabs is straightforward. Position a tab at each end of the zipper, encasing the metal zipper pull. Stitch securely in place, reinforcing the stitching for durability. This process, detailed in guides like those from ‘I Can Sew This’, transforms a basic zipper closure into a more refined and user-friendly feature. Experiment with contrasting fabrics for a pop of color or coordinating prints for a cohesive look.
Exploring Different Pouch Sizes and Shapes
Beyond the standard rectangular pouch, the possibilities for size and shape are truly expansive; Once you’ve mastered the basic lined zippered pouch construction, experimenting with dimensions unlocks a world of creative potential. Consider the intended use – a small pouch for coins, a larger one for cosmetics, or a slim version for pens.
Adjusting the height and width of your fabric pieces directly alters the pouch’s proportions. Rounded corners, achieved by gently curving the cutting lines, soften the overall look. Boxy pouches, created with wider bases, offer increased capacity. Tutorials often demonstrate how altering the initial fabric cut impacts the final form.
Don’t be afraid to explore unconventional shapes! Trapezoidal pouches or those with angled bottoms can add visual interest. Remember to adjust the zipper length accordingly. Scaling the pattern up or down requires careful consideration of fabric weight and zipper compatibility. The fundamental techniques remain consistent, allowing for endless customization and personalized designs.
Decorative Stitching and Embellishments
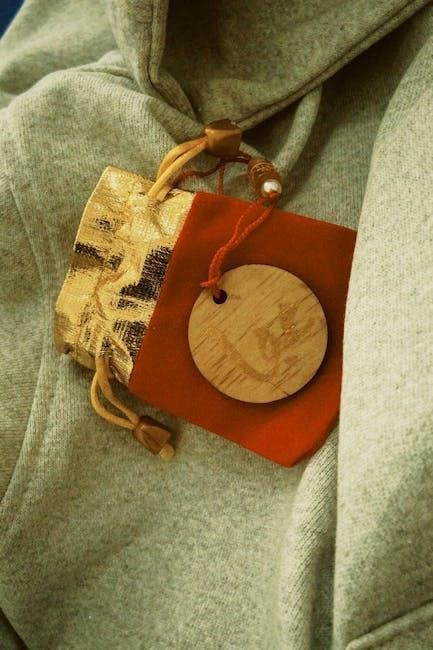
Elevate your finished pouches beyond simple functionality with thoughtful decorative touches. Once the basic construction is complete, embellishments transform a practical item into a personalized statement piece. Decorative stitching, utilizing various machine stitch patterns, adds texture and visual appeal along seams or as standalone designs.
Consider incorporating embroidery, appliqué, or fabric painting for unique artistic expression. Small beads, sequins, or patches can be carefully hand-sewn onto the pouch exterior. Experiment with contrasting thread colors to highlight stitch details. Ribbons or tassels attached to the zipper pull offer a playful accent.
Remember to choose embellishments that complement the fabric and intended use of the pouch. Avoid bulky additions that might interfere with the zipper function. Online tutorials often showcase inspiring examples of embellished pouches, providing ideas and techniques for adding your personal flair. Let your creativity guide you!